


Around 2000 BC (before children), I would spend much of my free time managing guest lists, prepping party decor and coming up with fabulous food spreads. I LOVED to throw parties of every kind and my friends had come to look forward to my annual shin digs.
Once Chase was born, most of the party planning fell to the way side. I didn’t have the same disposable income, time or energy to entertain the way I used to. I did however, capitalize on Chase’s birthday parties! A new kind of party was on the rise with fun exciting themes and midget guests to entertain. I got a few good ones in up until 2015 AD (after destructor aka Jude). Once I had two kids, my fabulous food spreads turned to boiled hotdogs and a box of Timbits. As much as I loved every minute of the planning, design and entertaining, I only had so much of me to go around and my personal past times fell to the bottom of the list.
Last year Chase turned five and considering our recent move, I really wanted to emphasize the new friendships Chase had made since we’ve been here. He was asking for a Ninja Turtle birthday so we decided we would go ahead with the party planning but do whatever we could to keep it simple and manageable.
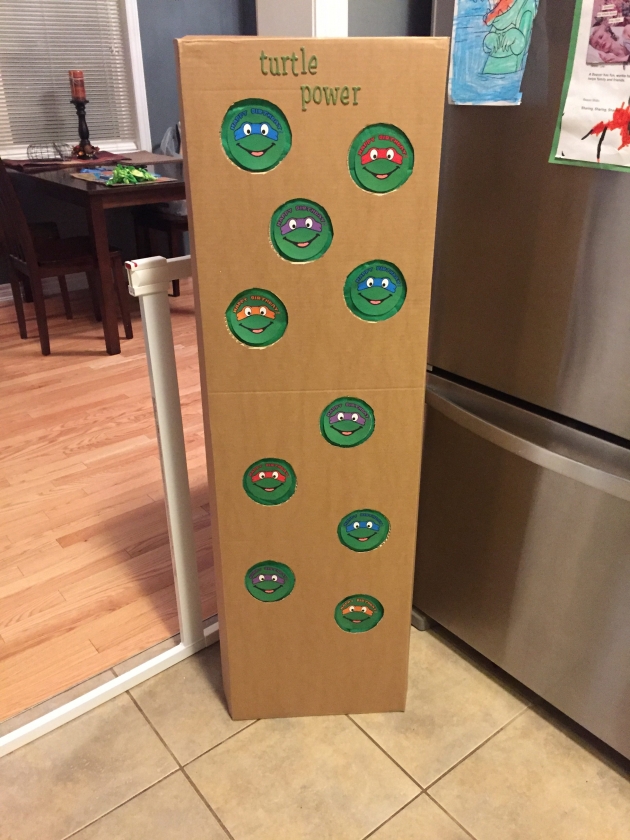
Tim suggested we book a party outside of our home and found a good deal at our local recreation center. This eliminated house cleaning before and after which took a huge load off. In our party package we got the gym filled with mats, balls and fun play stuff so the kids could run around and burn off some energy for an hour. Then we got the party room for some simple games, gifts and cake. We really did manage to keep it simple, EXCEPT for my plan to make a cool party game. It was a punch board where the kids can punch through a hole and grab a prize. I’ve seen this done at another birthday party and the kids LOVED it! How appropriate for a Ninja Turtle party! After scouring the interwebs, I found lots of pictures of this kind of thing but most were lacking a really good set of instructions so…I documented our little crafting adventure.
What was fun NOT fun about this was how we somehow procrastinated making this and stayed up until midnight the night before the party to execute. Thank goodness Tim was up to the task and we took it on like the great team we are! It really wasn’t a difficult task but did take some DIY skills and an investment in time.
You will need:

- Cardboard Box
- Tissue paper
- Scotch Tape
- Strong Masking tape
- Stickers or printables
- Zip lock style bags or small plastic grocery bags
- Prizes
Step 1: Find a suitable cardboard base and prep it
You could use any old corrugated cardboard box or piece of strong cardboard to use as a base for your punch board. I’ve seen some people use wrapping paper to cover the surface if you want to play up a party theme or make it more attractive. We had an Ikea box lying around which worked well because it had a large flat surface without any writing on it so it saved us the step of covering it. We flattened the box when we were making the punch board but ended up taping the flaps at the top and bottom to give it some structure to stand on its own.
 Step 2: Cut circles large enough for a child’s fist

We made sure we had enough circles for each child guest and a few extras. I’m glad we did because one of our guest had a sibling who came along and I was happy to be able to include her. We traced one of our kitchen bowls to represent each punching hole and then cut them out with strong scissors. Make sure there is some space between each circle. In a later step you will be taping around the back of the hole and you will need some room to work with.
Step 3: Cut tissue paper squares slightly larger than the circles
Flip the cardboard over so that the backside is facing up. Place the tissue squares over the circle and tape the edges to secure.
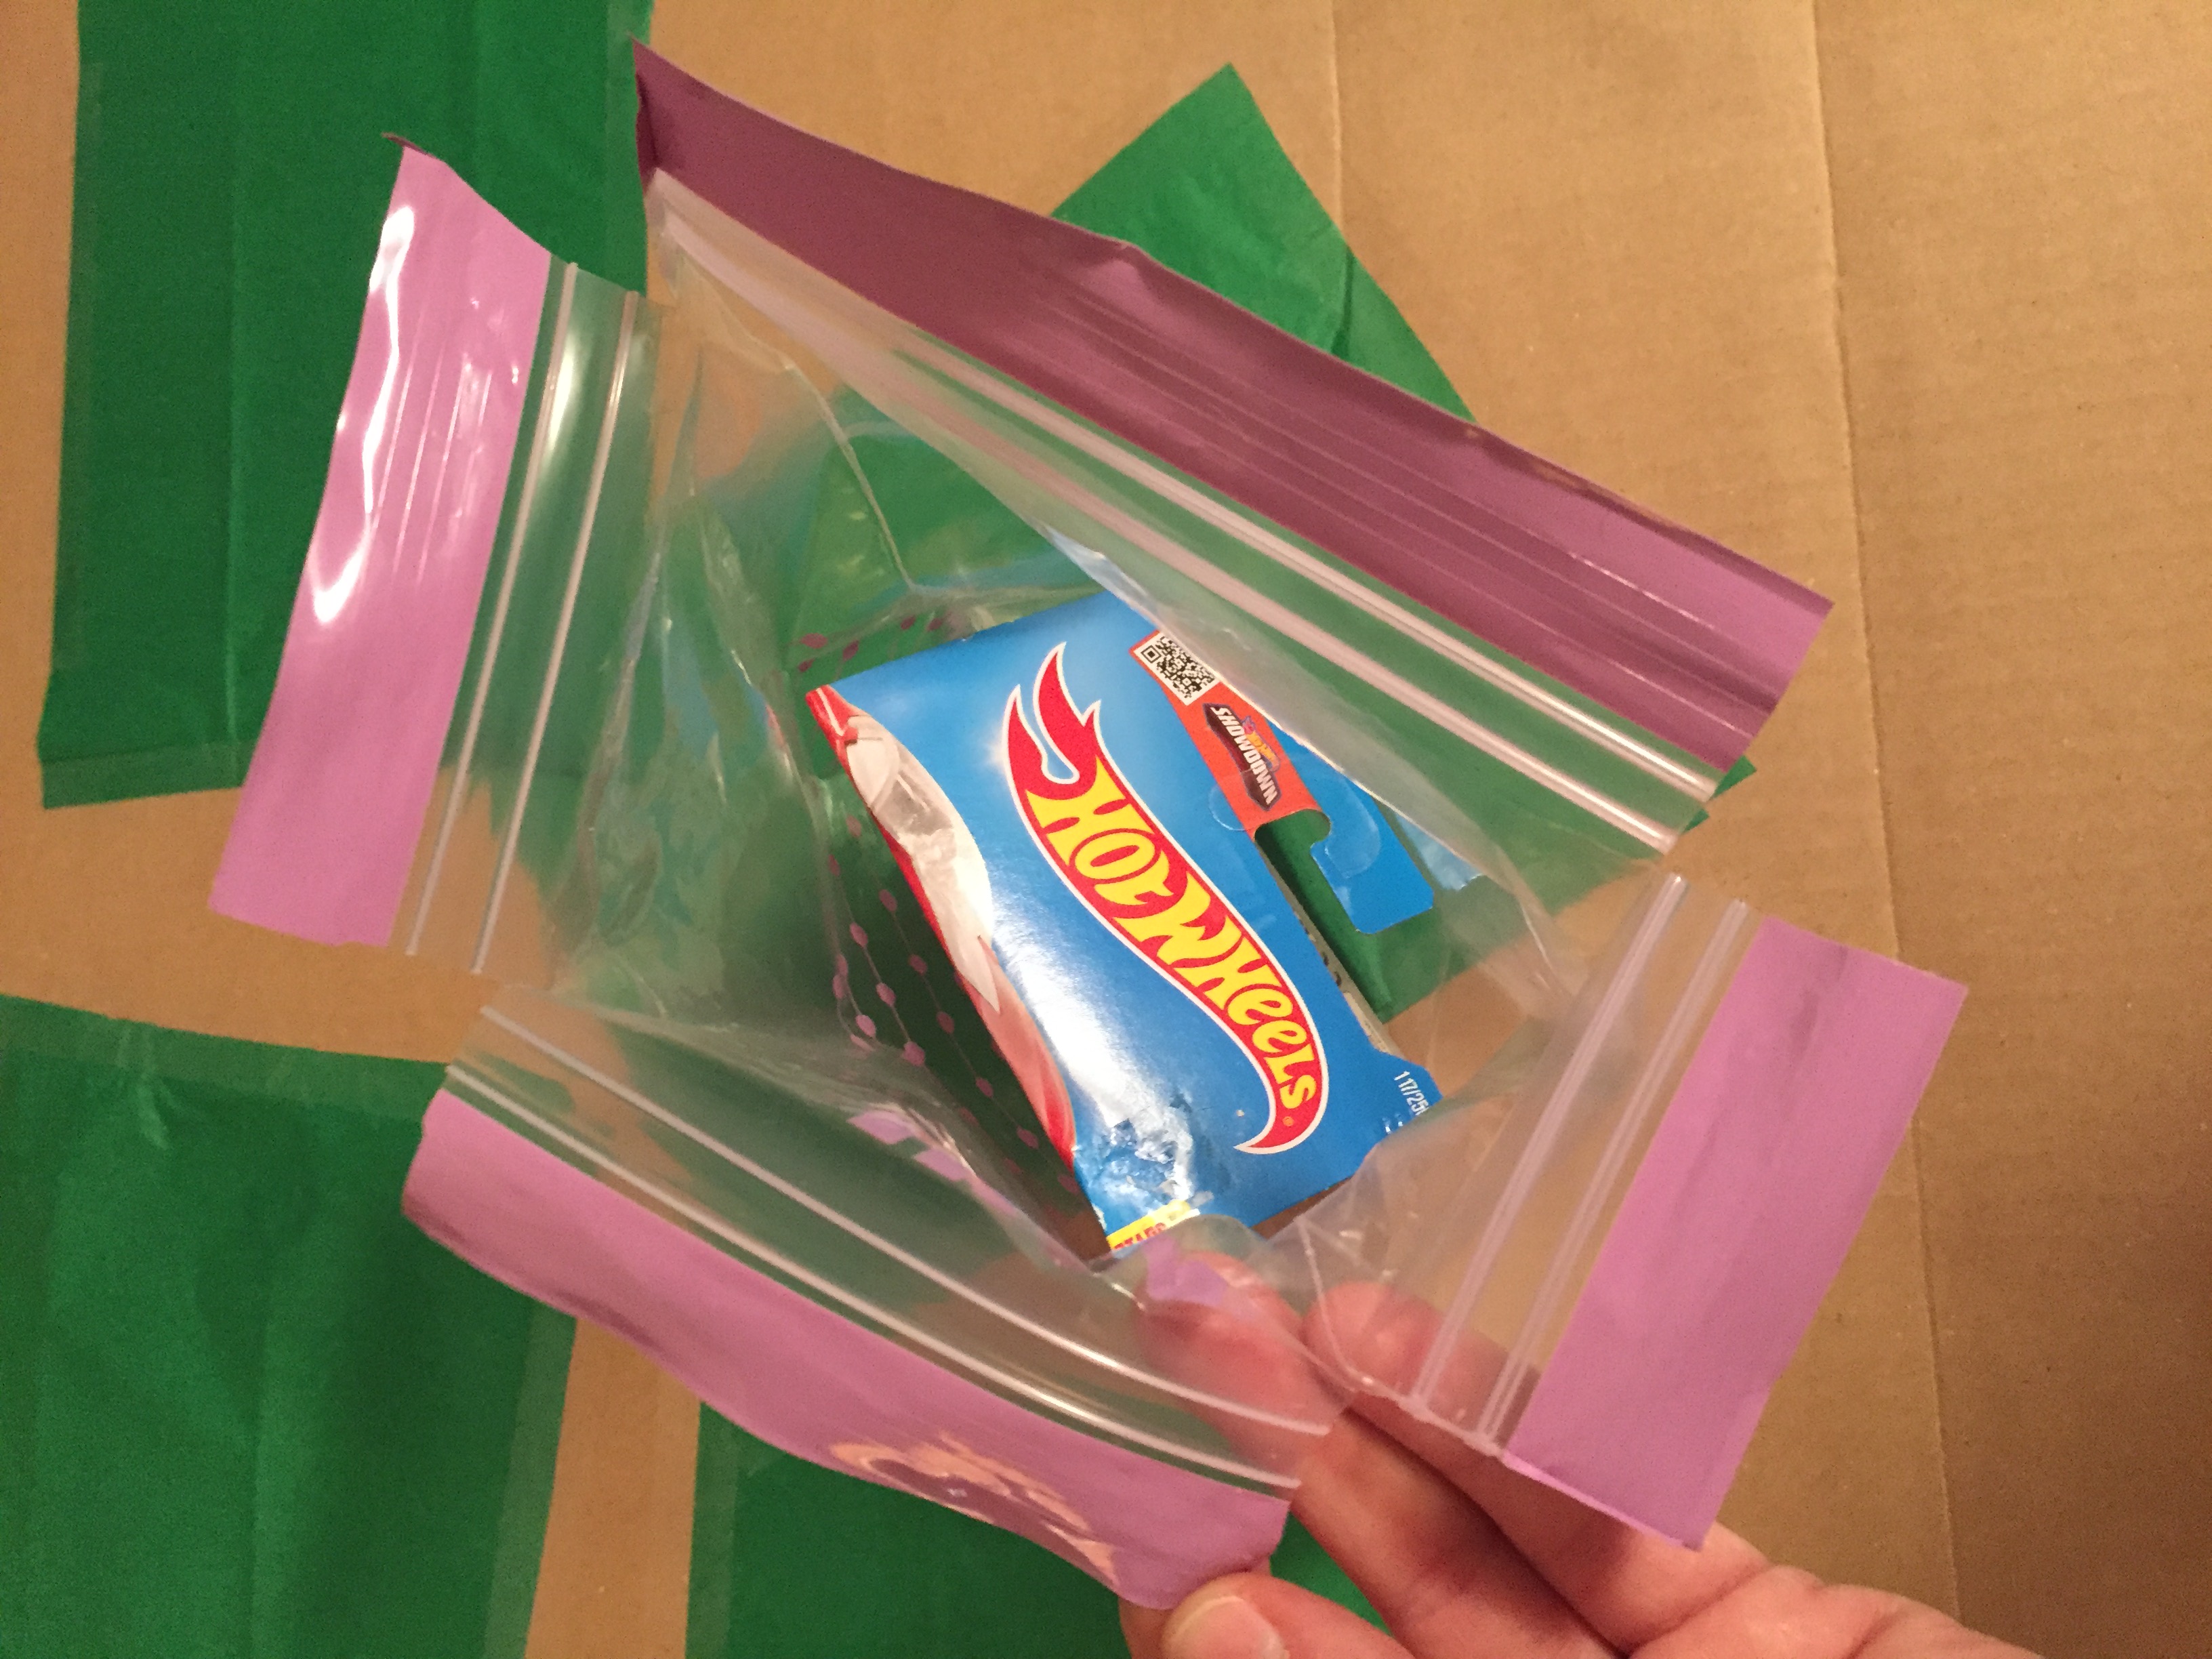
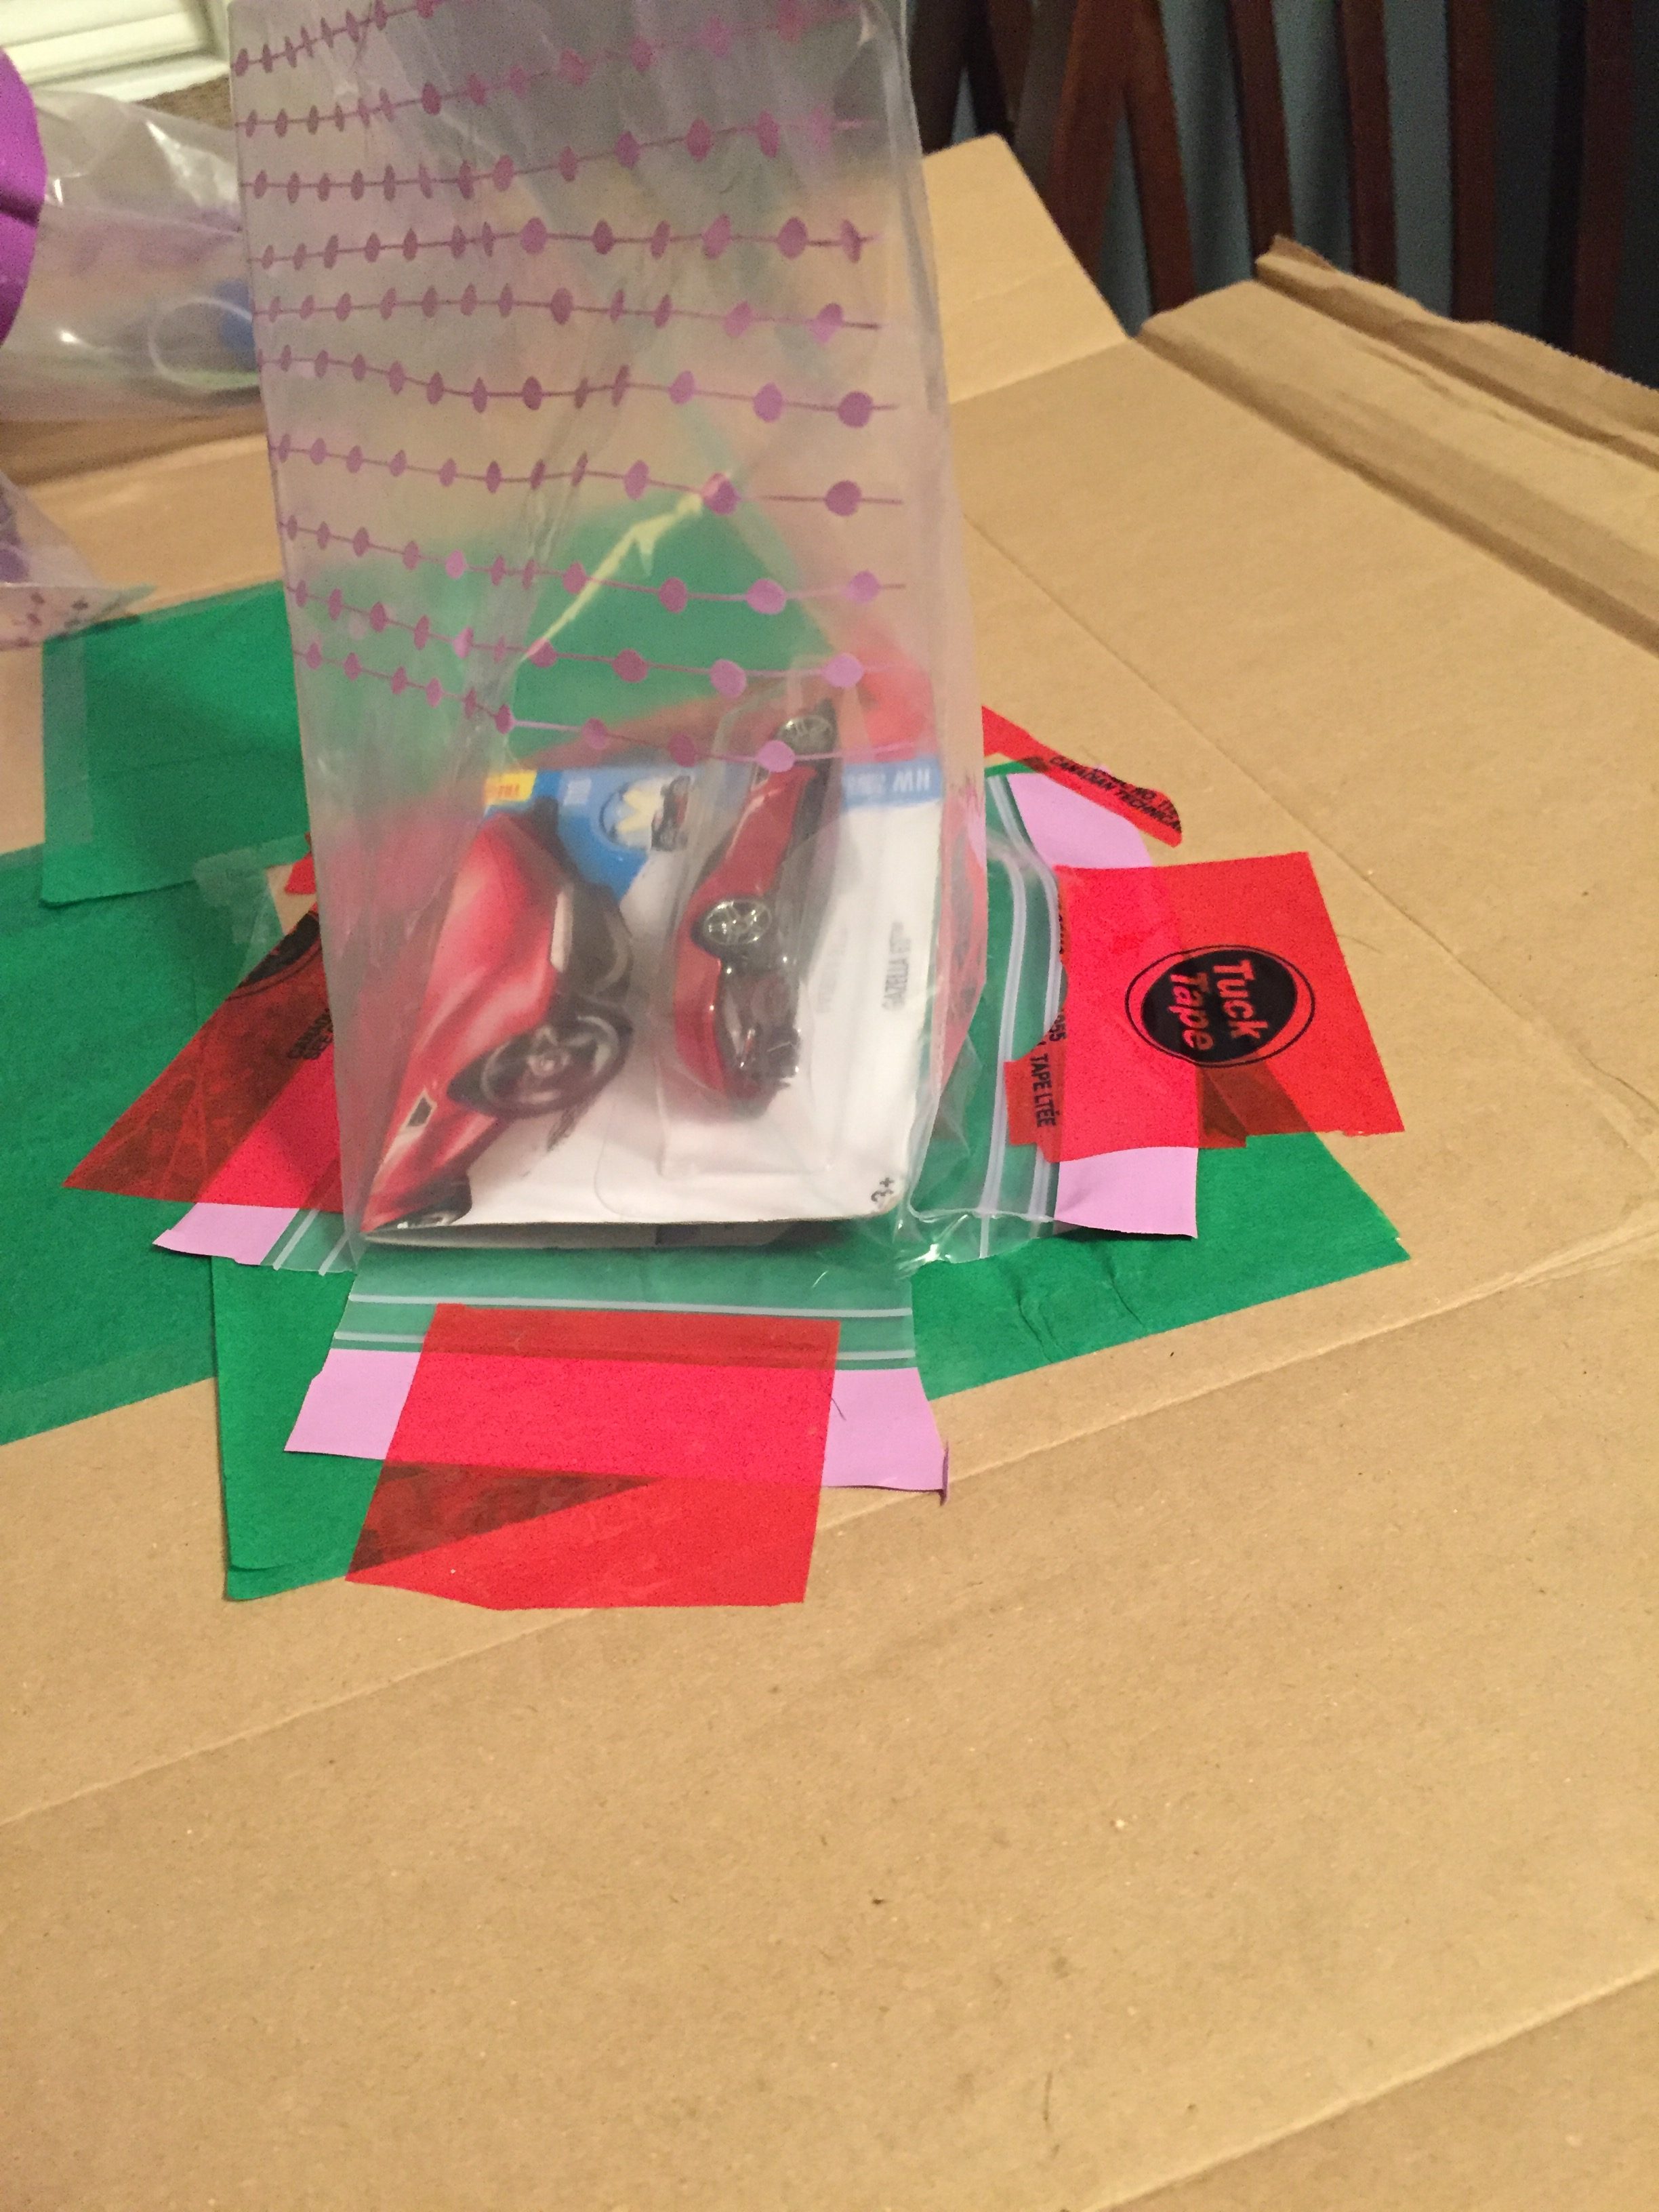
Step 4: Prepare the prize bags
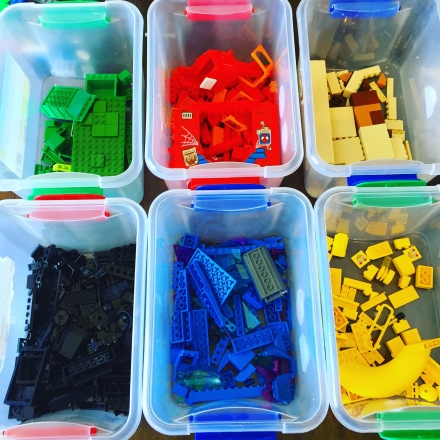
If you’re using grocery bags, you can probably skip this step, but we found cutting four slits in the mouth of the ziplock bag gave us the perfect rim to tape against the cardboard. Insert the prizes inside the bags and use a strong masking tape to adhere the bag to the back of the punchboard ensuring the opening of the bag aligns with the hole that tissue paper has covered.


Step 5: Finishing touches
We planned to tape some pictures of the Ninja Turtle bad guys to the front  of the tissue paper so the kids could punch them out in true ninja style, but all the pictures I found online were scary looking. If we didn’t procrastinate, I’m sure we could have found some but instead we stuck with some happy Ninja Turtle faces. You can do a basic Google search to find some images suitable for your party’s theme and print, cut and tape. Another option is to use a sticker of some kind.
Despite our late night party prep, I am pleased to report how well this party game was received by both kids and parents! The parents were asking how we made it and the kids reveled in displaying their ninja moves! It was totally worth making our super simple party, a little less simple.
4


